
Create a Workflow
1. Open CawCut and go to the Workflow editor.
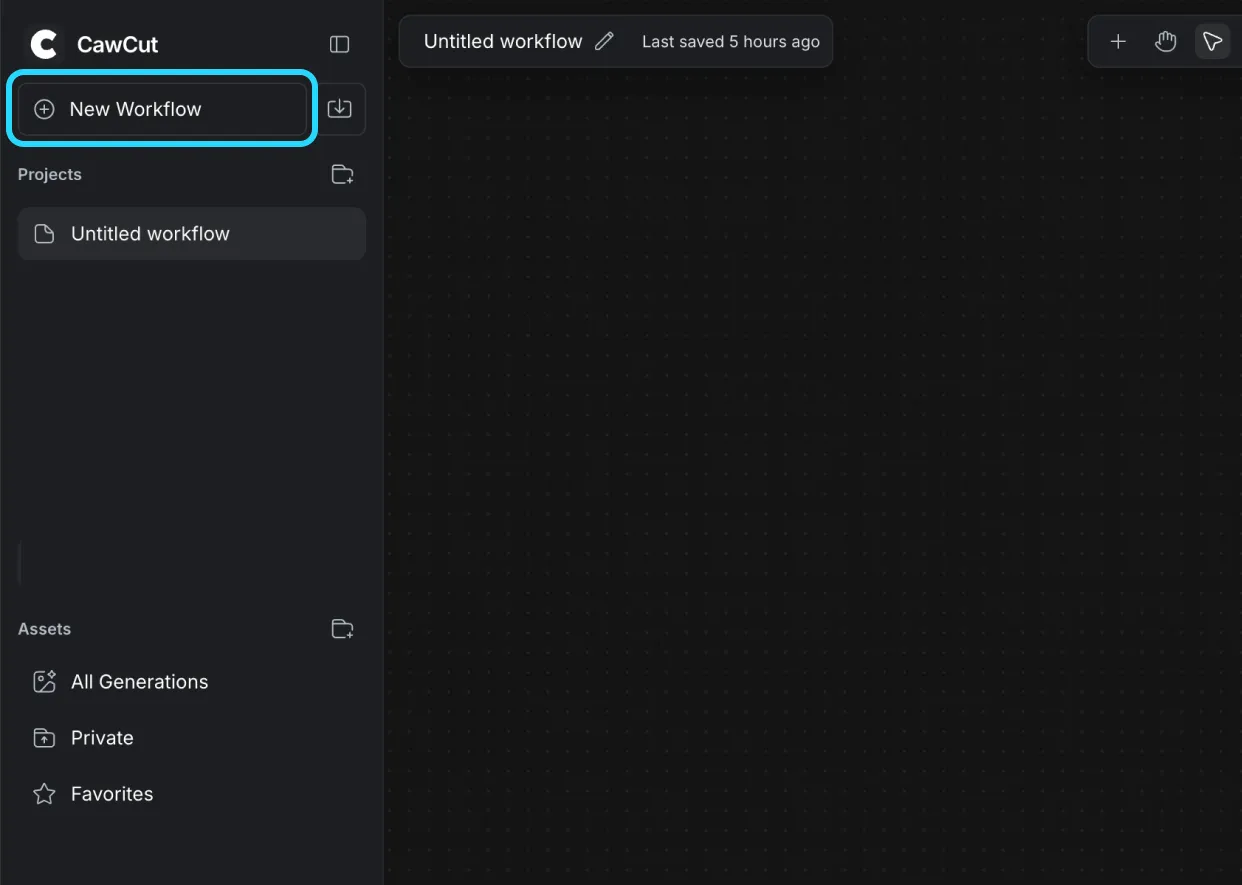
2. Click the New Workflow button to start from a blank canvas.
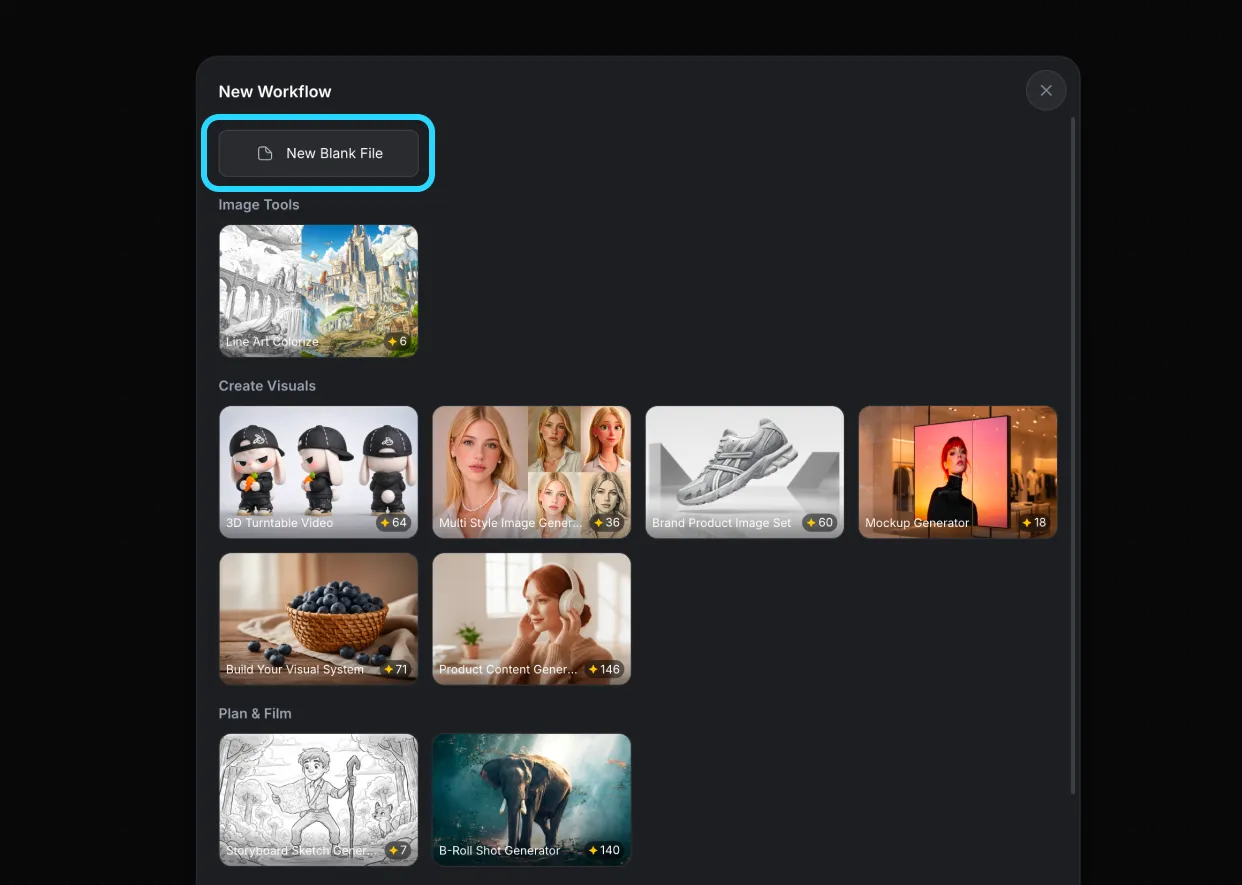
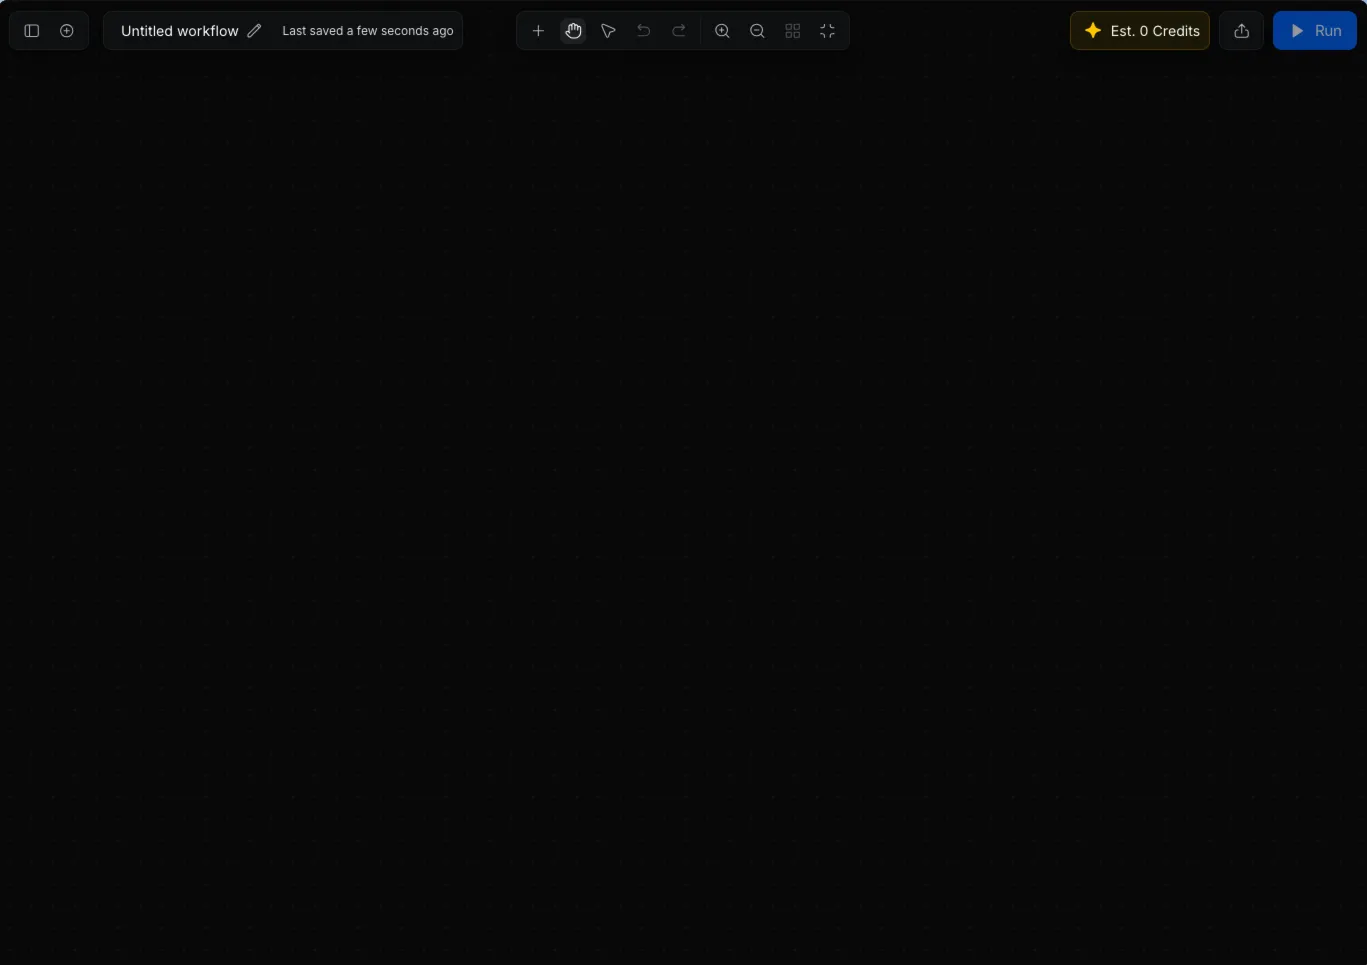
3. You will see an empty workspace where you can begin building your workflow.
Add Nodes to Your Workflow
Once your canvas is ready, you can populate it with various nodes to construct your creative pipeline. There are two primary ways to add a new node:
- Via the Toolbar: Click the `+` icon located in the top navigation toolbar.
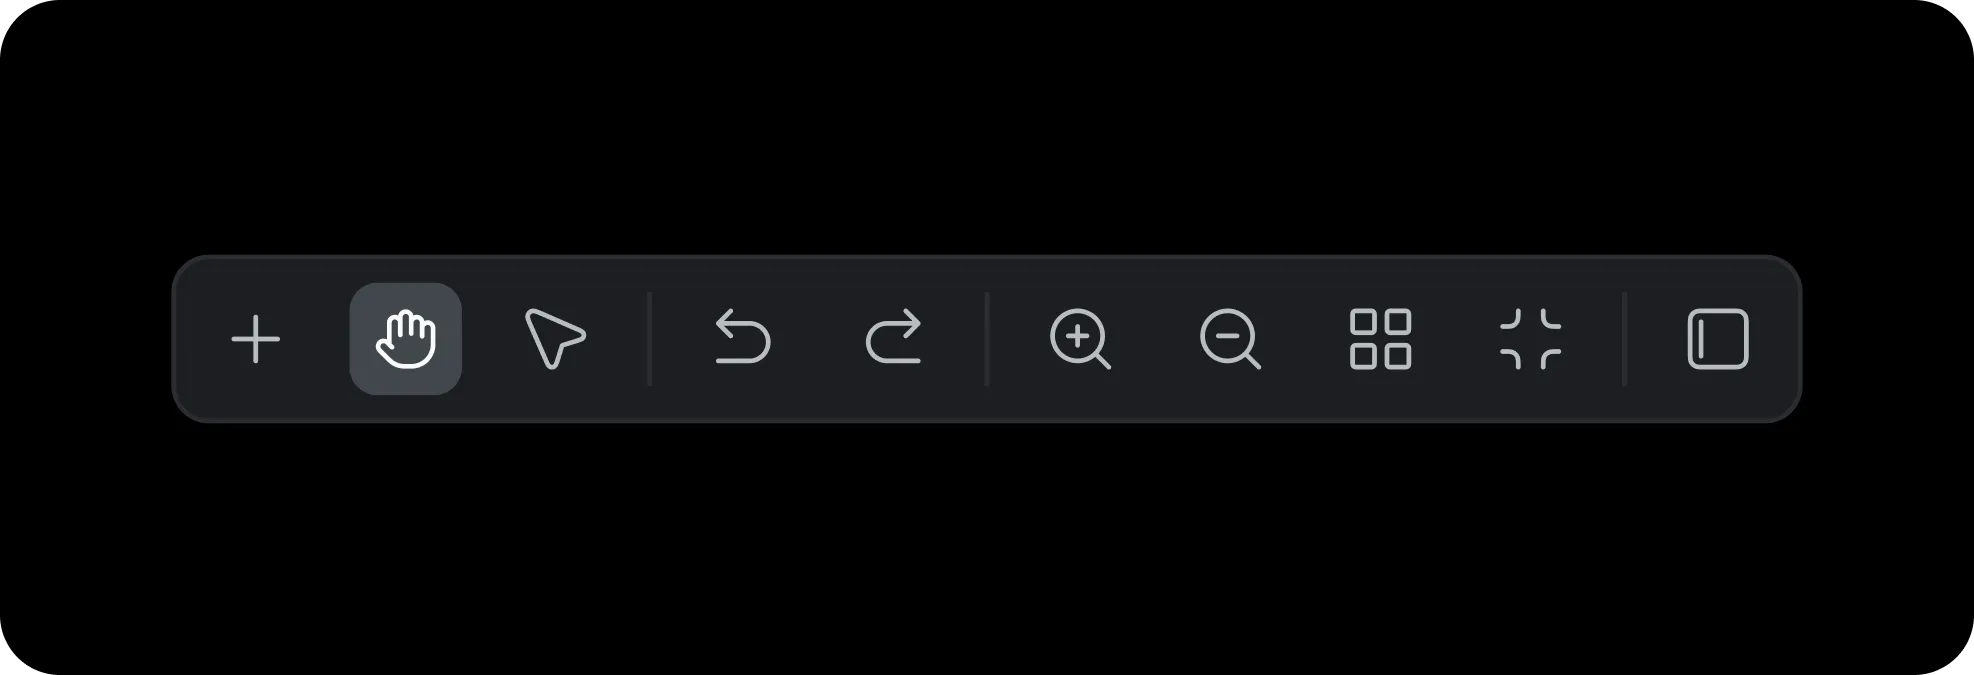
- Via the Menu: Right-click anywhere on the empty workspace to instantly open the node selection menu.
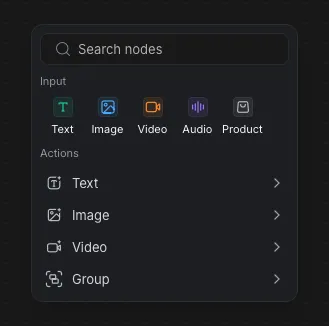
From the node menu, you can use the search bar to find specific nodes, or browse through the categorized options:
- Input: Includes nodes for Text, Image, Video, Audio, and Product.
- Actions: Includes nodes for Text, Image, Video, Group.
Import and Export Workflows
Once you have created or customized your workflow, you can easily save it for future use or share it across your team.
For a comprehensive guide on how to seamlessly export your current canvas configuration or import existing workflows, please refer to our detailed documentation: Download Result, Import, Export & Share Workflows.